
Creating a Project
This guide covers creating a new project from the Accounts Page. Once the project exists, you can import data, invite users, and configure settings through the Project Window.
Creating the Project
Section titled “Creating the Project”Projects are created from the Accounts Page toolbar.
-
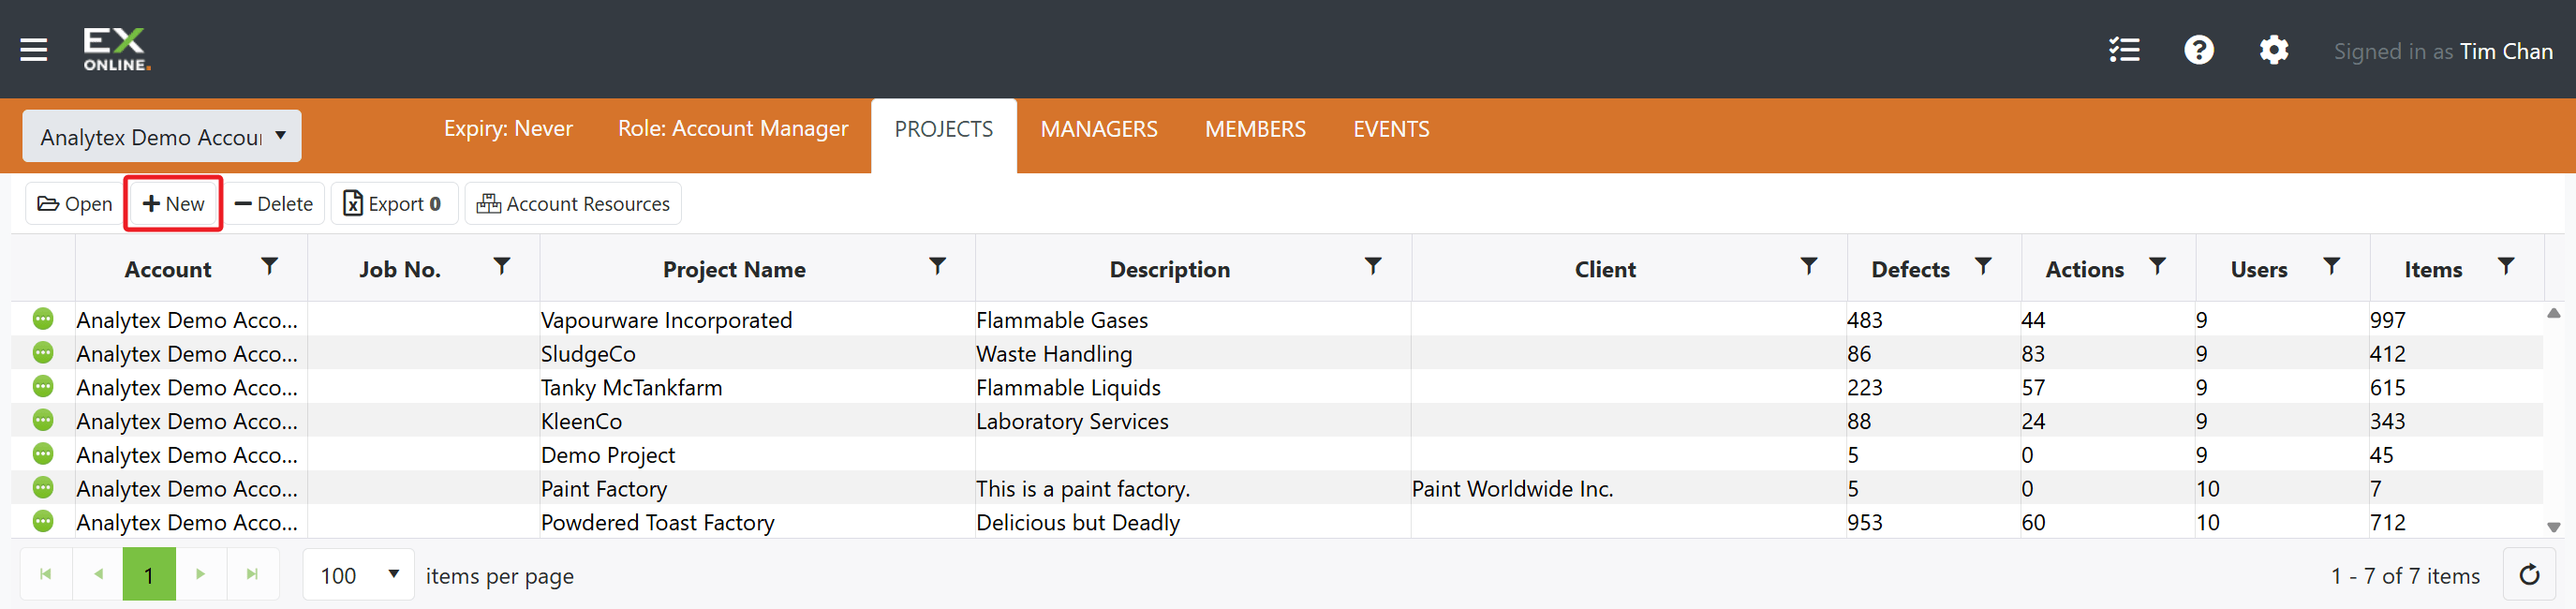
From the Accounts Page, click the + New button in the toolbar.
-
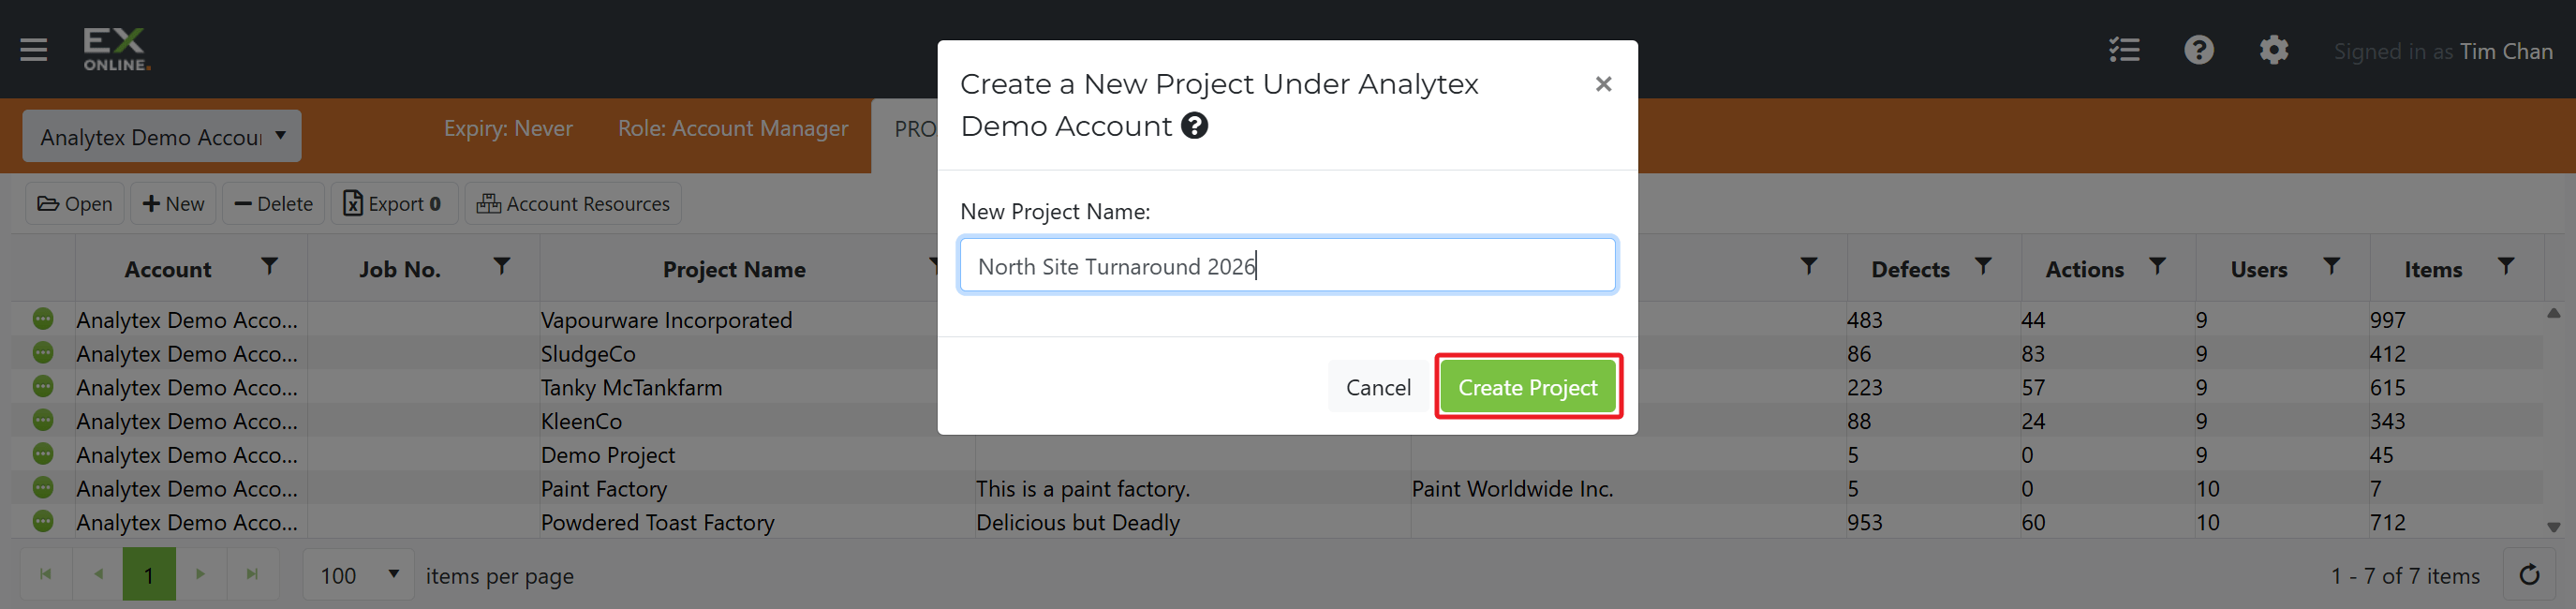
Enter a name in the New Project Name field and click Create Project.
The project is added to the projects list immediately.
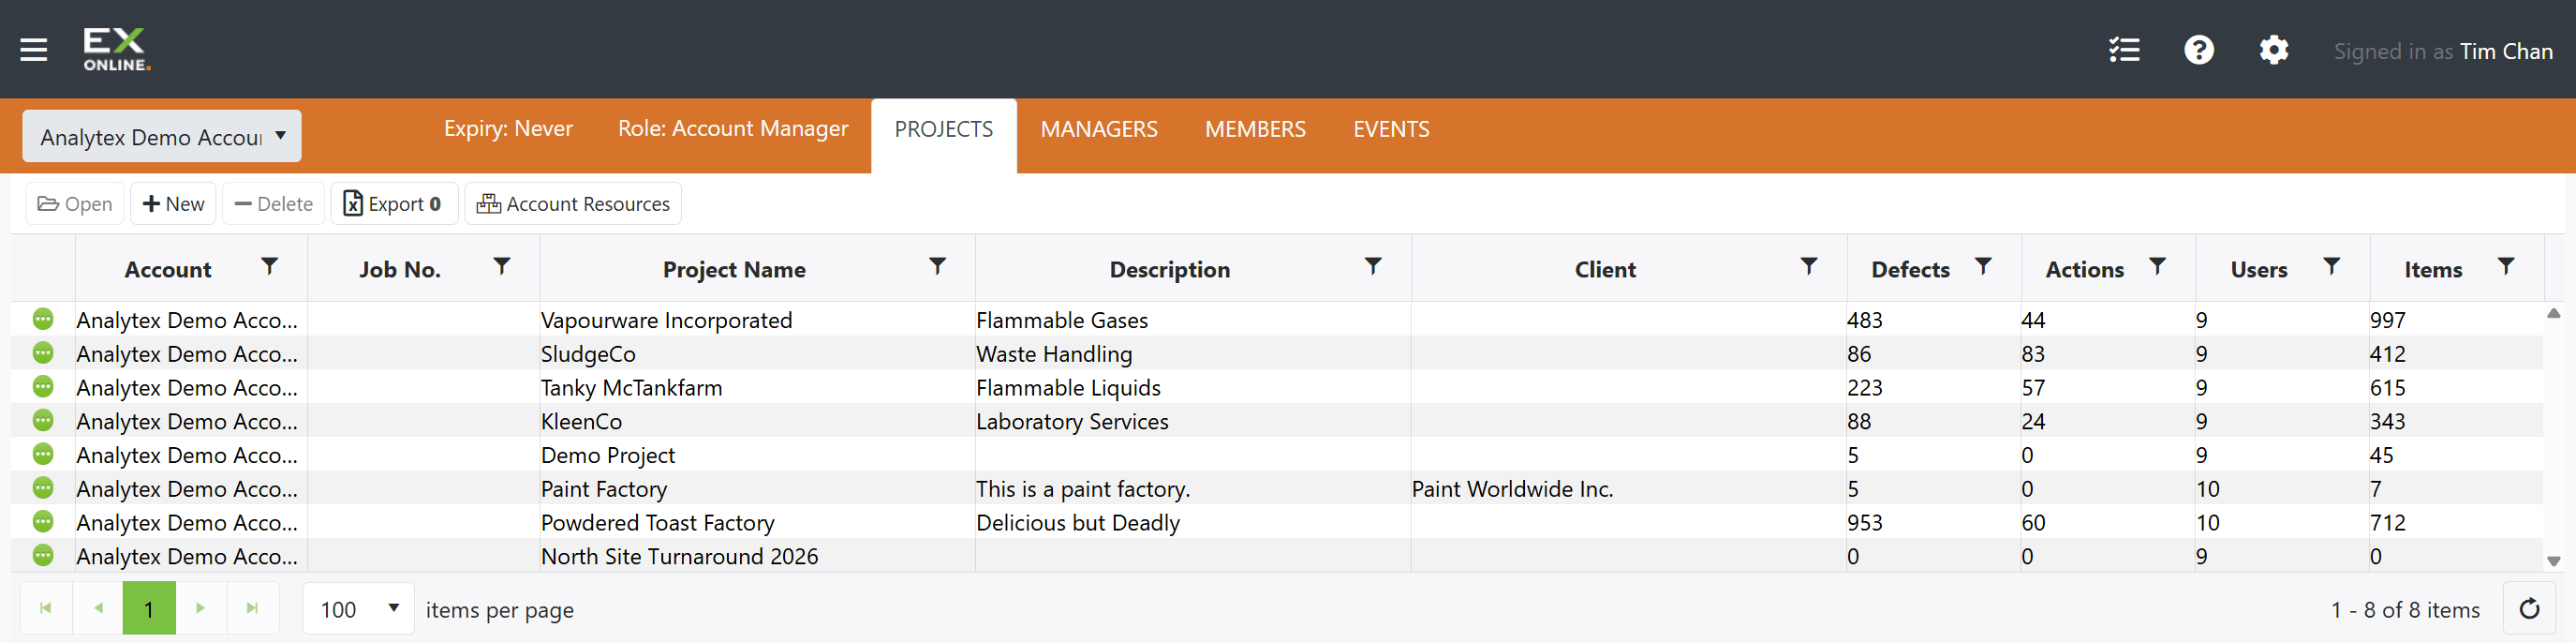
You will notice that your project already has some users — this is because all registered users in the Managers tab are automatically added to new projects. To learn how to add, remove, and edit project managers, see Managers.
Next Steps
Section titled “Next Steps”A newly created project is empty. Typical next steps include:
- Import data — bulk import equipment and documents from a ZIP package
- Invite users — add team members and assign roles
- Configure settings — adjust IWP upload/download options, inspection intervals, and plugins via the Project Window
- Add equipment manually — add individual equipment items through the EQUIPMENT tab
To access project settings, open the project and click the Project Options button (white circle with three dots) on the orange header bar.
Related Topics
Section titled “Related Topics”- Project Window — Full reference for the Project Window tabs, fields, and settings
- Importing Data — Preparing and importing data packages
- Inviting Users — Adding users and assigning project roles