
Managing Actions
This guide covers everyday action management tasks: creating actions manually, closing and reopening, changing priority, adding comments, converting actions to defects, and performing bulk operations. For a full description of every field, grid column, and toolbar button, see the Actions reference.
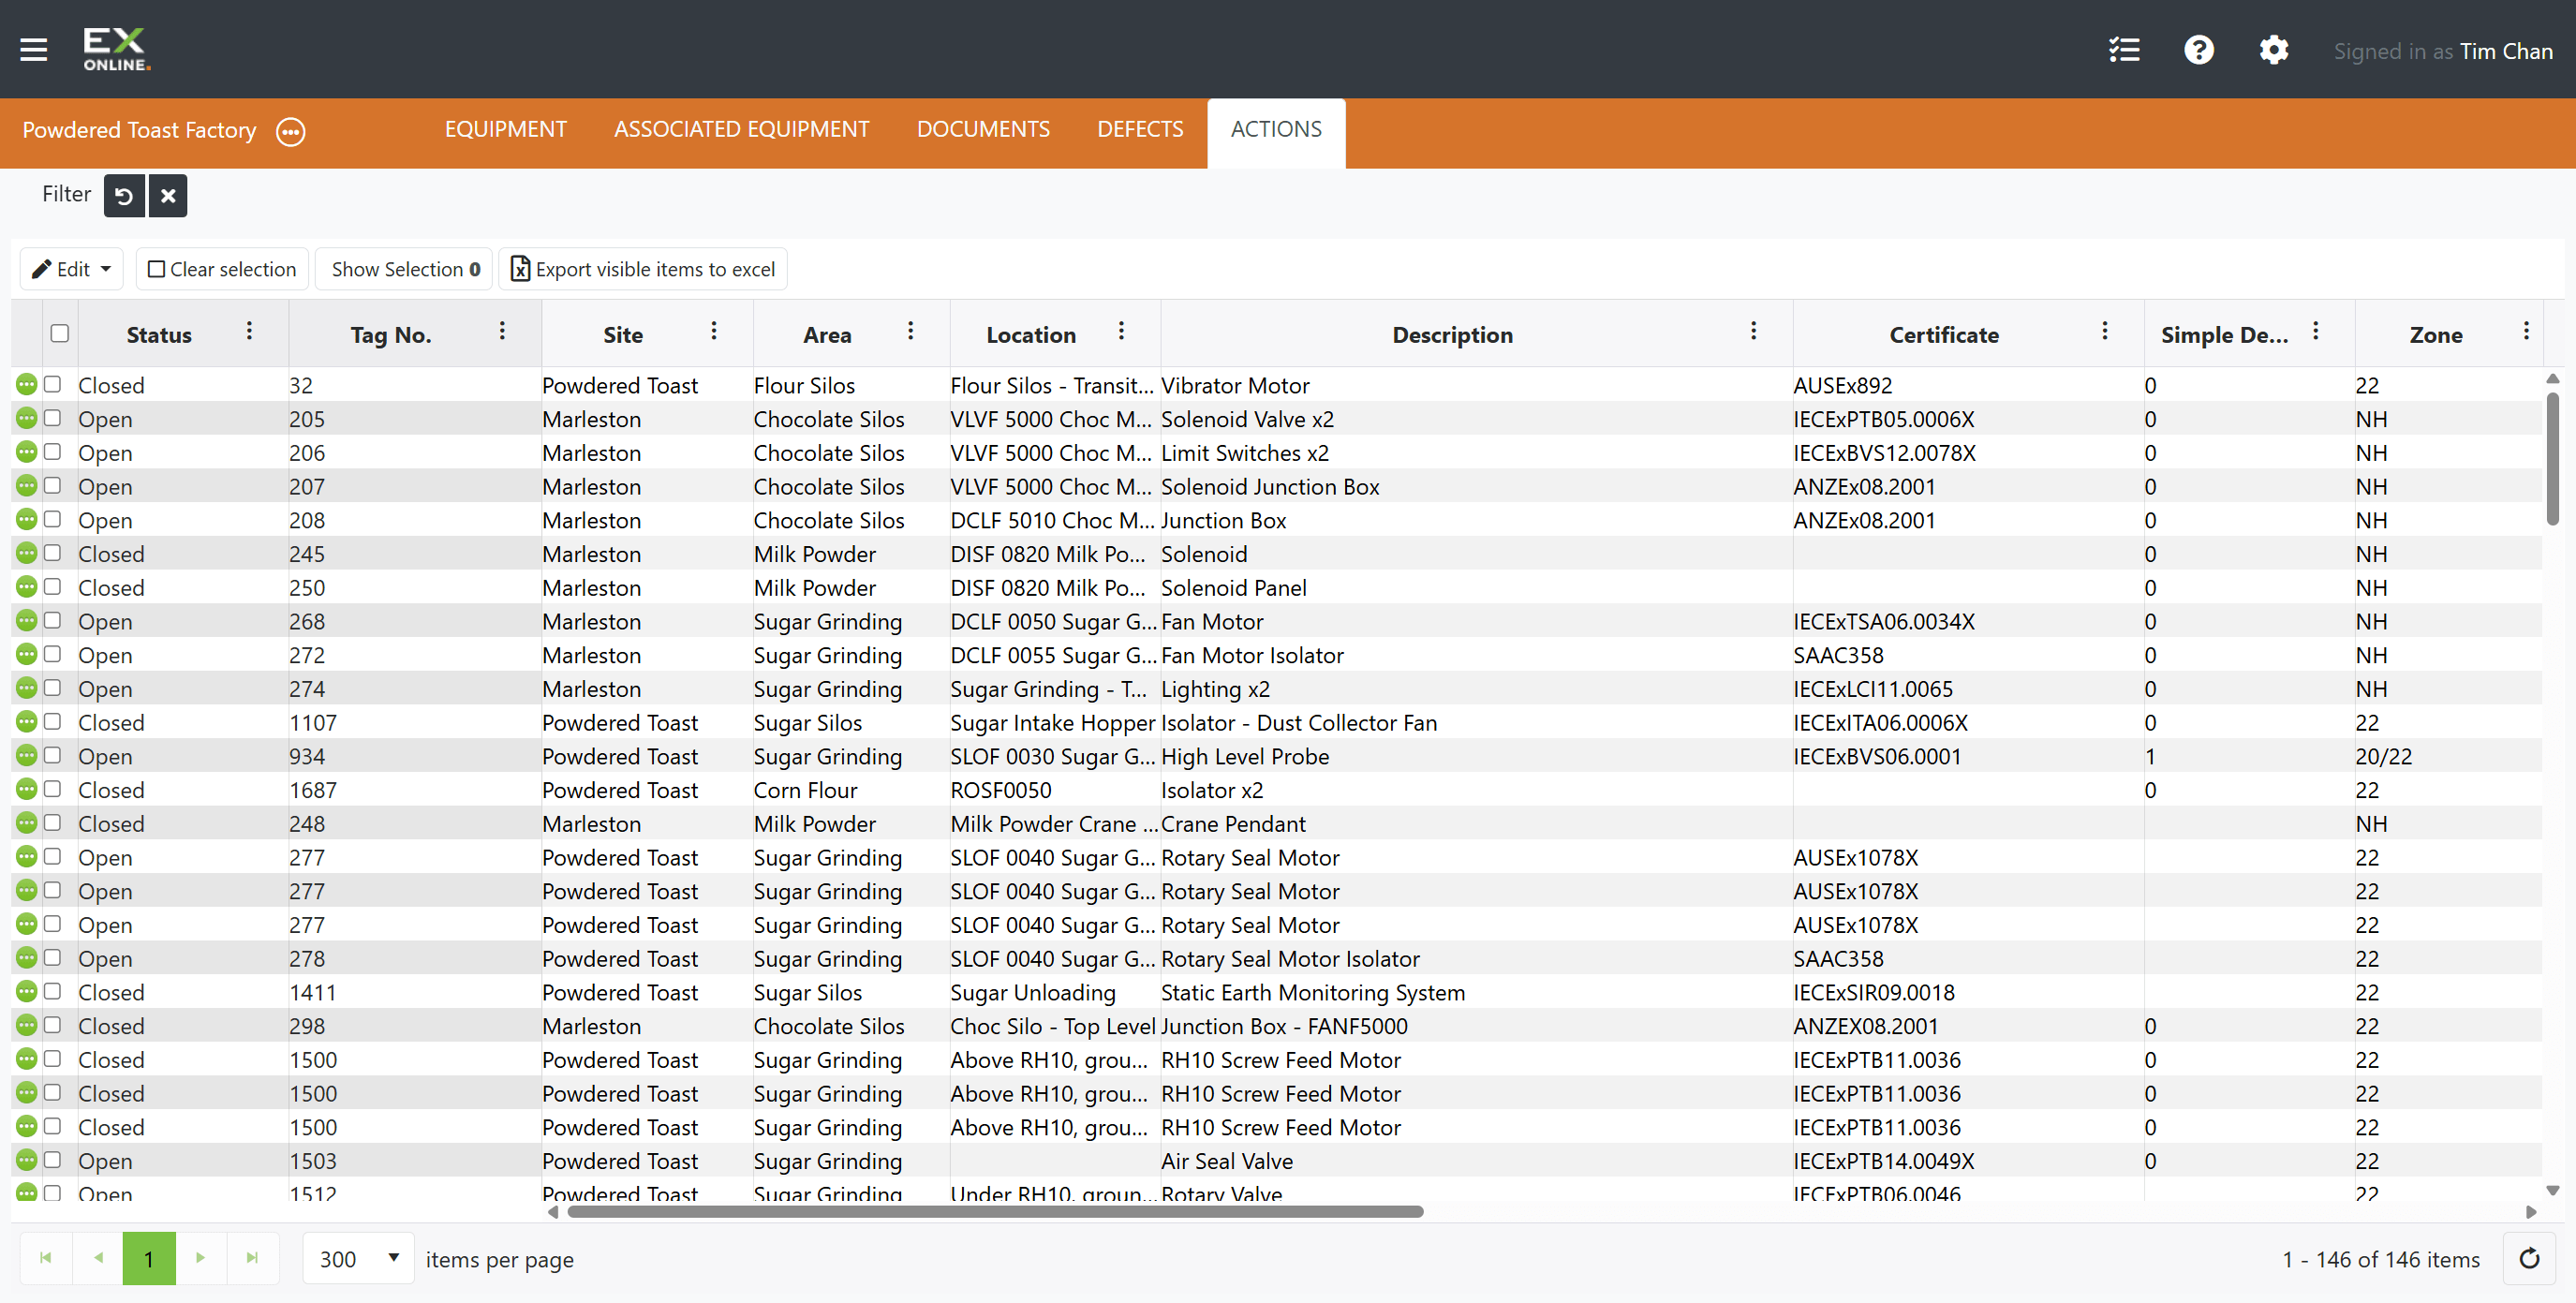
Creating an Action
Section titled “Creating an Action”Actions are typically auto-generated from inspections and system events. To create one manually:
-
Go to the EQUIPMENT tab in the orange header bar.
-
Click the green expand icon on the left of the equipment row to open the Equipment Window.
-
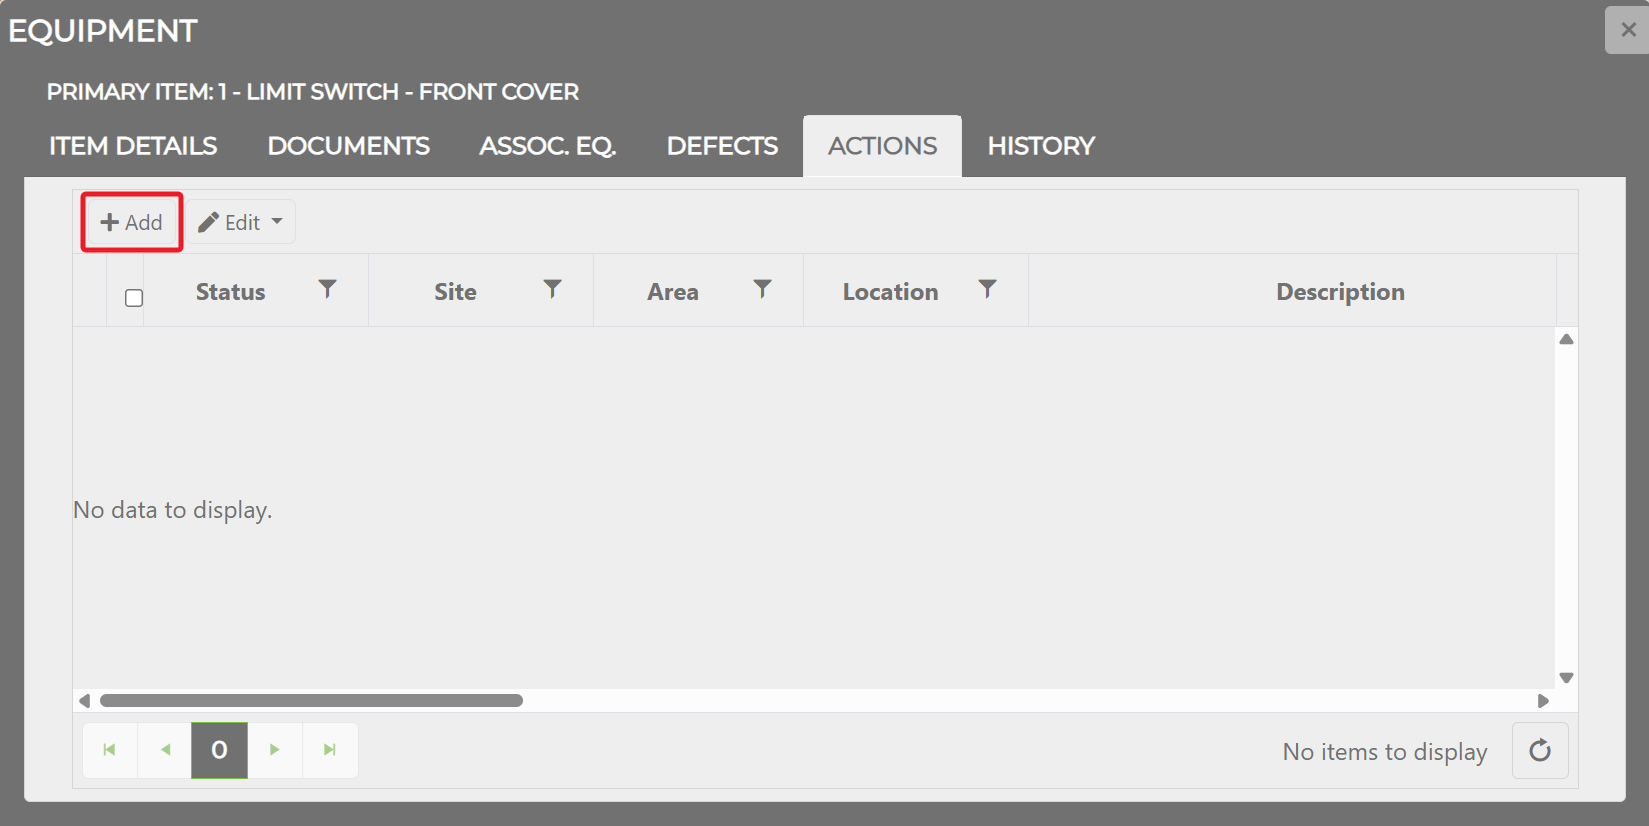
Switch to the ACTIONS tab in the grey Equipment Window header.
-
Click + Add.
-
Select a description and priority.
-
Click Save.
Finding Actions
Section titled “Finding Actions”Use the column filters to narrow the grid. Click the filter icon next to any column header to filter by that column’s values — for example, filter by Status to see only open actions, or by Type to focus on a specific action category. See Filtering and Sorting Data for step-by-step instructions.
Viewing an Action
Section titled “Viewing an Action”To see full details, comments, and change history for a specific action, click the green expand icon on the left of the row to open the Action Window. See Action Window for a full description of every field and tab.
Using the Edit Menu
Section titled “Using the Edit Menu”Most action management tasks are accessed through the Edit dropdown in the toolbar:
-
Go to the ACTIONS tab in the orange header bar.
-
Select one or more actions using the checkboxes in the grid.
-
Click Edit in the toolbar to open the dropdown menu.
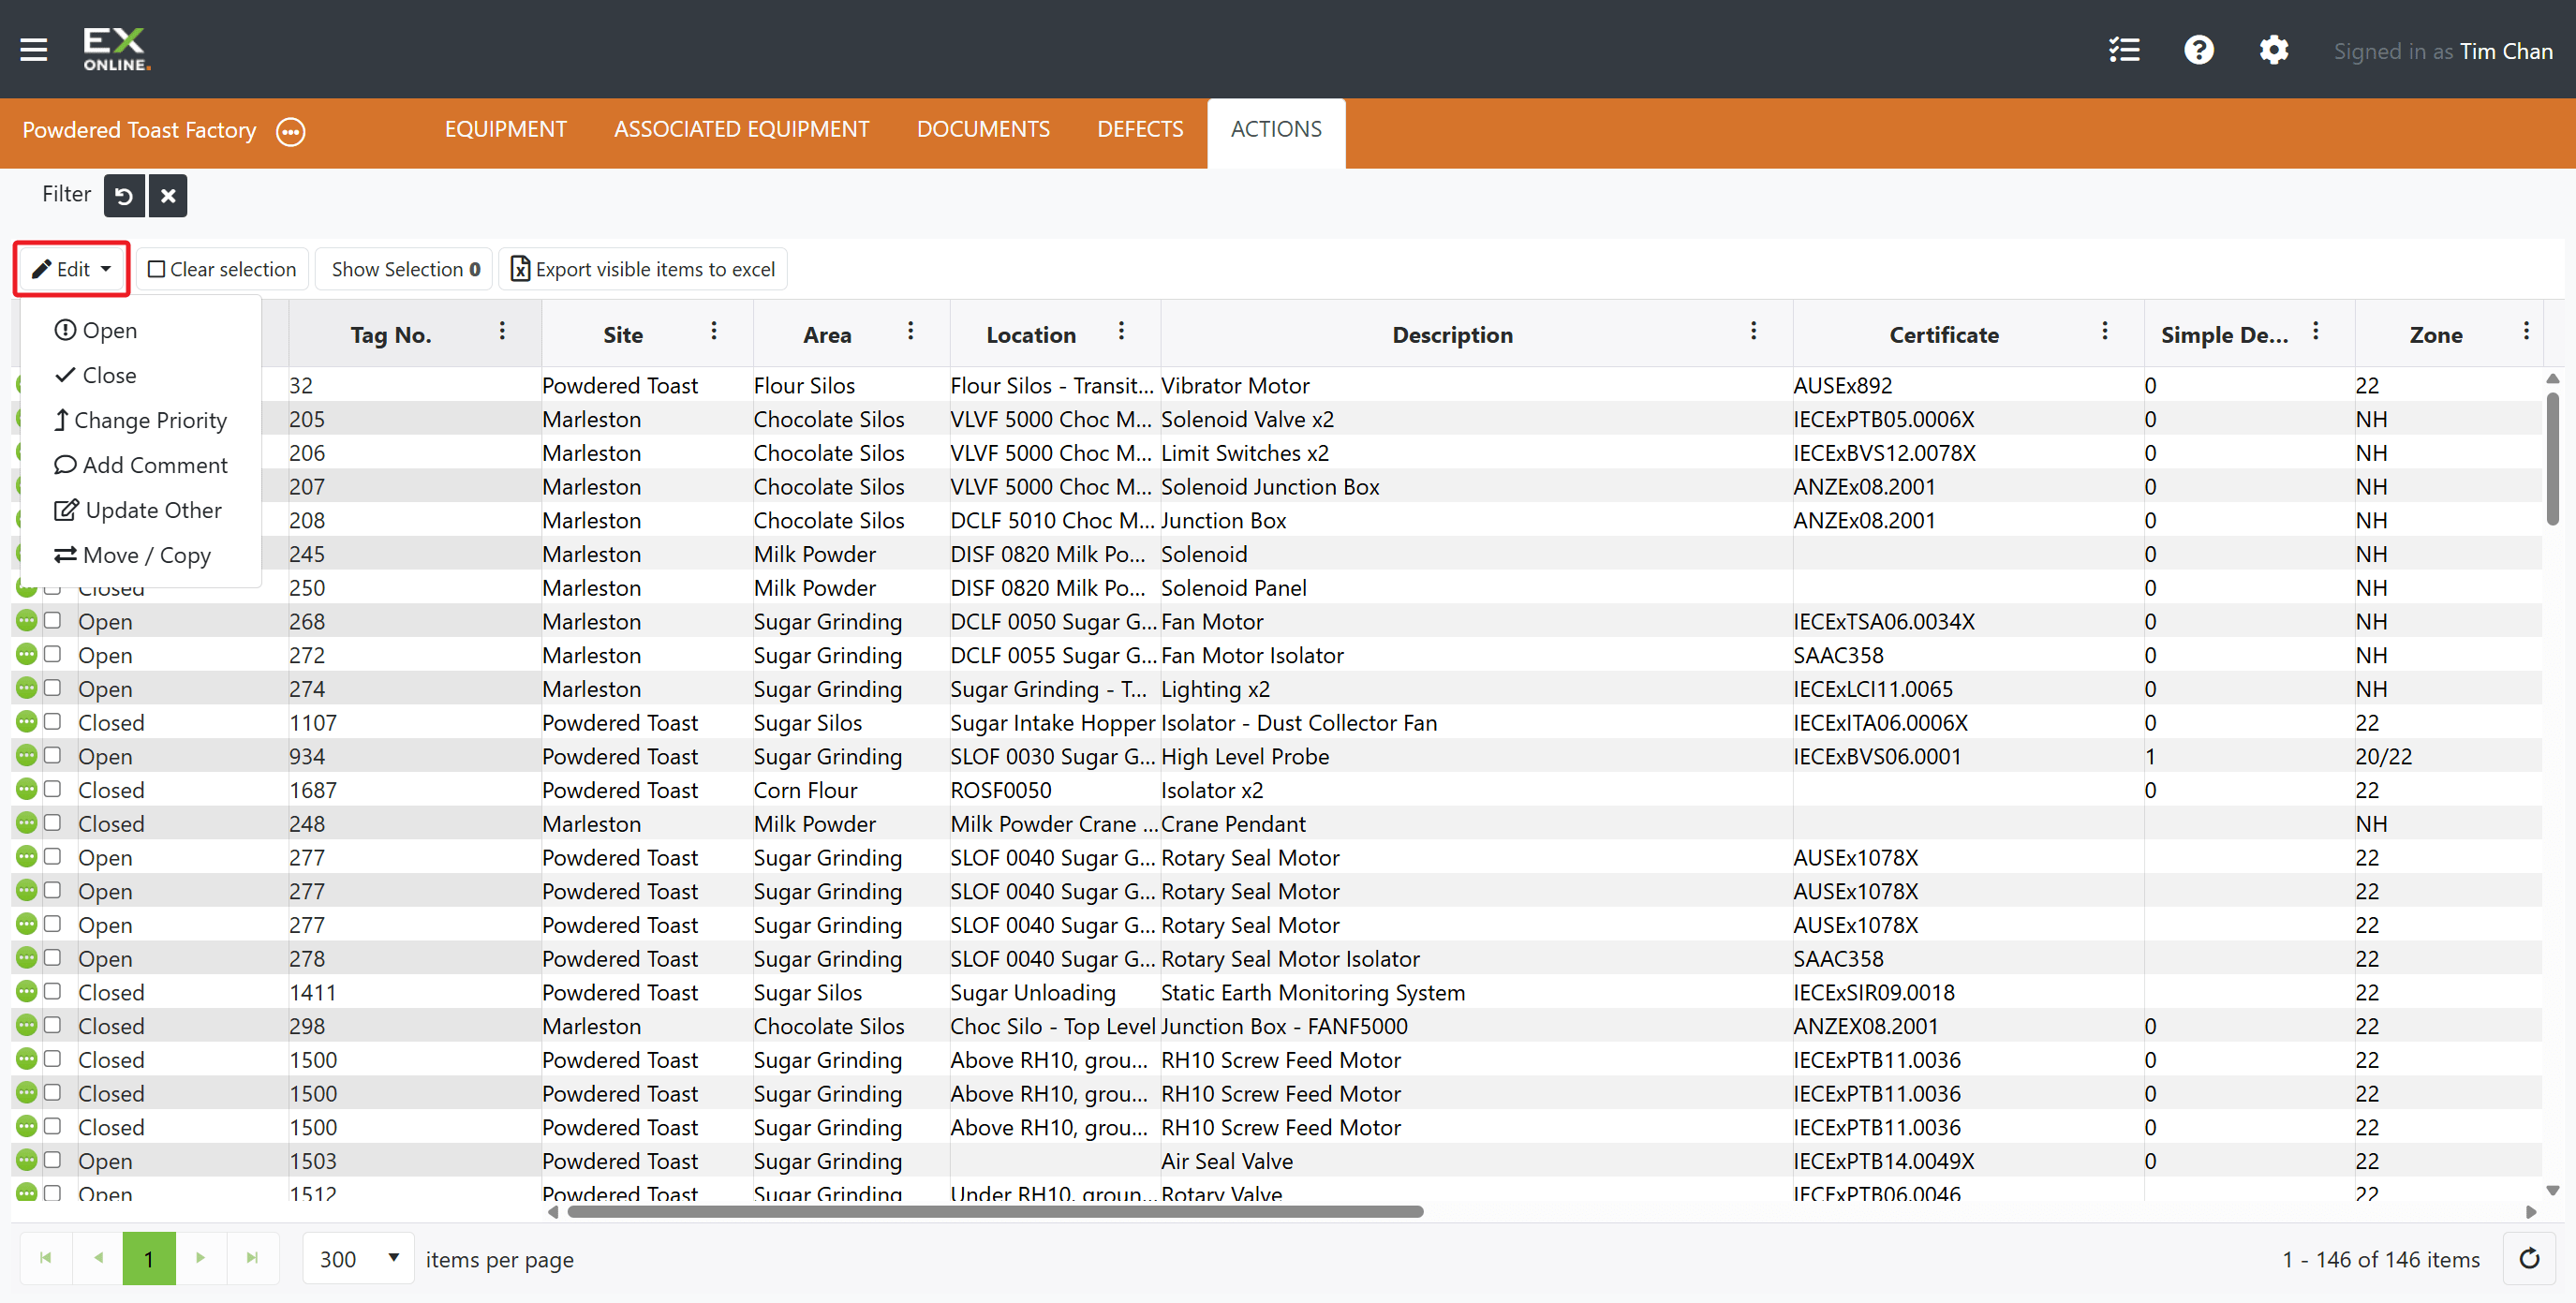
All Edit menu operations support multiple selection — select several actions, then apply the change to all of them at once.
Closing Actions
Section titled “Closing Actions”Select the open action(s) and click Edit > Close. Enter any closing comments and confirm.
Reopening Actions
Section titled “Reopening Actions”Select the closed action(s) and click Edit > Open. The status returns to Open immediately.
Changing Priority
Section titled “Changing Priority”Select the action(s) and click Edit > Change Priority. Choose High, Medium, Low, or Unassigned and confirm.
Adding Comments
Section titled “Adding Comments”Select the action(s) and click Edit > Add Comment. Enter your comment text and click Save.
Updating Custom Fields
Section titled “Updating Custom Fields”Select the action(s) and click Edit > Update Other. Enter values for the User Action 1/2 fields and click Save.
Moving or Copying Field Values
Section titled “Moving or Copying Field Values”Select the action(s) and click Edit > Move / Copy. Choose the source and destination fields, select Copy (keeps source value) or Move (clears source after transfer), and confirm.
Converting an Action to a Defect
Section titled “Converting an Action to a Defect”If an action reveals an equipment issue that should be tracked as a defect:
- Go to the ACTIONS tab in the orange header bar.
- Click the green expand icon on the left of the action row to open the Action Window.
- Click Create Defect.
- Enter a description for the new defect.
- The action is automatically closed and a linked defect is created.
Troubleshooting
Section titled “Troubleshooting”| Issue | Solution |
|---|---|
| Edit menu options are grayed out | Select at least one action using the checkboxes before clicking Edit |
| Changes not appearing | Refresh the grid — click the page number or switch tabs and back |
| Wrong items updated | Verify your selection count in the Show Selection button before applying bulk changes. Restore from a project backup if needed |
Related Topics
Section titled “Related Topics”- Actions Reference — Grid columns, toolbar options, types, and creation
- Action Window — Status, comments, custom fields, and change history